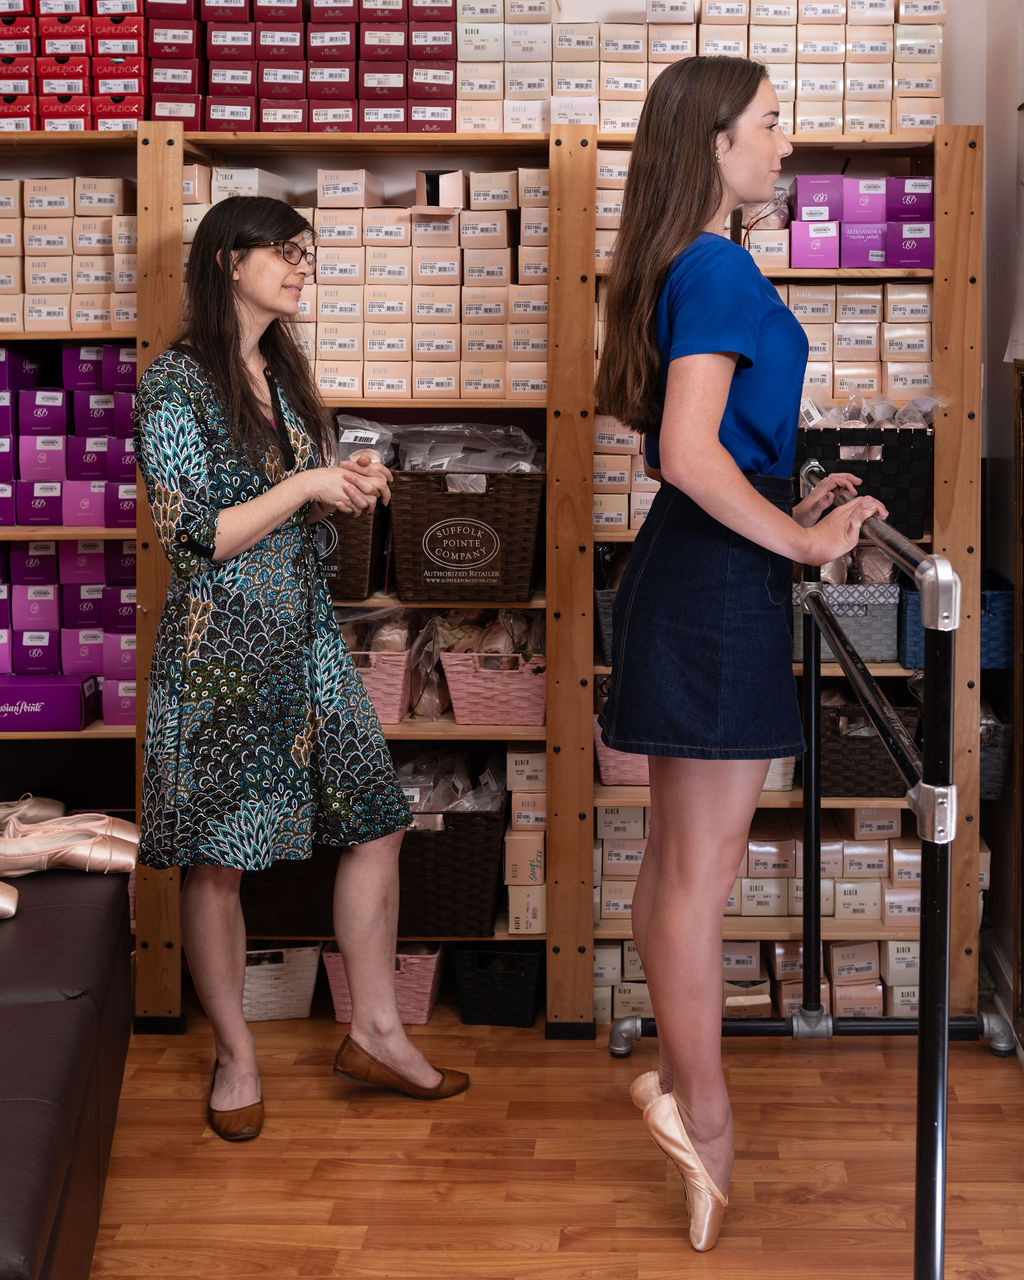
How exciting it is to be told you’re ready for Pointe work! Who doesn’t love getting fitted for Pointe shoes? Whether you are a first time beginner or on your 50th pair, we at Dancers’ Boutique can accommodate all levels. We specialize in fitting pointe shoes for the Beginner, Advanced Beginner, Intermediate, Advanced and Professional Ballerina.
We will take care to assess the shape of your feet and toes and to determine what strength of shank is needed or wanted. We have so many styles (37 and counting) that the biggest difficulty for the Ballerina is choosing only their favorite 1 or 2 pairs to take home! We always try on multiple styles to ensure we have exhausted all possibilities. Miss Jenny is an experienced professional fitter, fitting Pointe shoes since 1994.
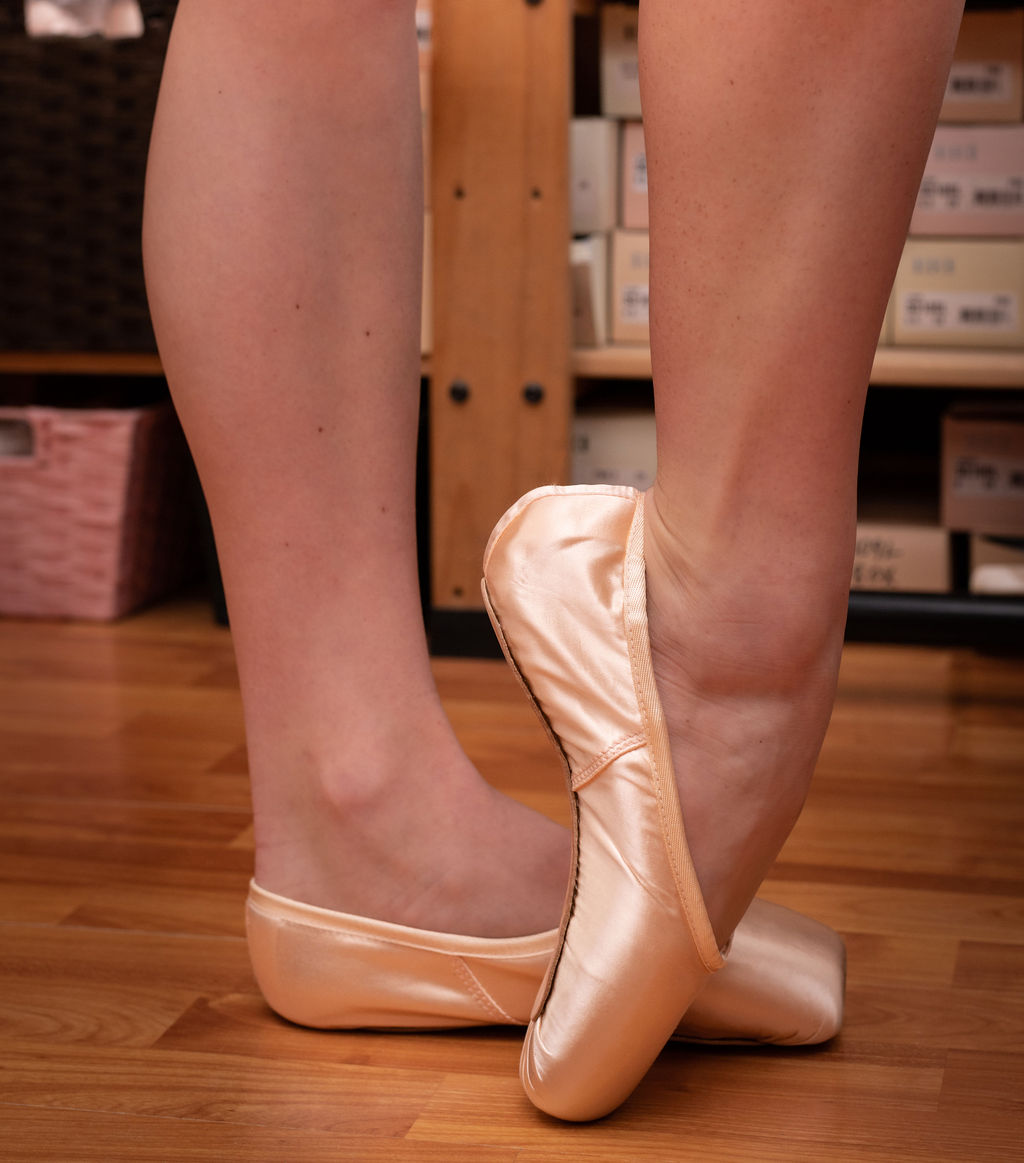
Anatomy of a Pointe Shoe

- Vamp Shape / Throat Line: The shape of the entrance area for the front of the foot. Sometimes the Vamp shape is either ‘U’ shaped or ‘V’ shaped.
- Block/Box: The hardened surface area of a pointe shoe which includes the vamp, wings and platform, surrounds the front section of the foot. The Block/Box is made from the application of numerous layers of special fabrics, all with different shapes, bound together by the paste in between each layer. This process is very similar to the process of papier-maché.
- Vamp (Modified): The measurement from the center middle of the drawstring to the edge of the Platform.
- Shank / Insole: A combination of layers of special materials into a unique profile which forms the structural anchor similar to the way a spine supports the human body. Shanks/insoles are developed in different profiles creating various levels of flexibility.
- Sock: A thin suede or cotton fabric covering the inner shank.
- Drawstring: A length of either cotton cord or elastic cord encased within the binding that allows the upper to form a snug fit around the foot.
- Binding: The tape that finishes the top edge of the upper which also encases the drawstring.
- Vamp: The lower forward part of the shoe’s upper, covering the forepart of the foot and includes the Block/Box and Platform.
- Platform: The flattened surface at the toe end of the pointe shoe which allows the dancer to balance ‘en pointe’.
- Wing: Each of the two symmetrical sides of the vamp directed toward the heel. The outer edge of the hardened toe Block/Box that contain a lesser amount of material and paste. The Wings can vary in shape and hardness depending on the style of pointe shoe or the dancers preference.
- Side Seam: The stitching on the side seam is a double French stitch which ensures strength and sews front Upper to the back Upper.
- Pleats: The measured pleating which draws the satin over the Box which meets the Outsole.
- Outsole: The outer most sole of pointe shoes is made from leather.
- Heel Strap: A satin tab which is sewn over the joining seams of the back uppers.
- Last: The foot shaped mold which the pointe shoe is manufactured around.
- Paste: A specially formulated glue type substance, which is used in both the process of hardening the toe Block/Box and attaching the insole to the inside of the pointe shoe.
- Upper: All the parts above the shoe’s sole that are joined together to become a single unit which is then attached to the Outsole.
Padding
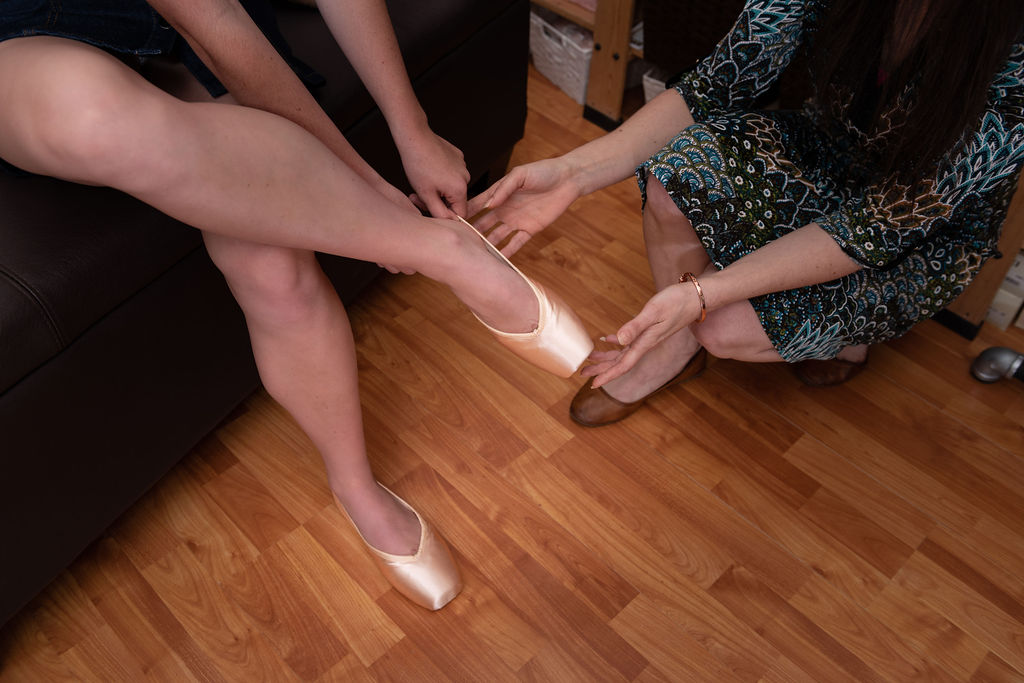
If you’re a beginner, we carry all the padding and accessories you will ever need. There are several types of padding, and we examine your feet and toes to ensure you have spacers or any other padding needs met. We will explain how to take care of your shoes, and we offer mesh bags to hold them. We will gladly show you how to sew and tie your shoes. At each fitting, we reexamine your feet and toes to be certain you have the best padding care. Remember, when it comes to padding, less is more. You will eventually want to reduce padding in the shoes to almost nothing (yes, can you believe it?).
Lambswool
The original is lambswool. It is available loose in order to mold to the areas in most need or it can come in a pad form (with or without gel tips.) Lambswool pads are very soft and comfortable in the beginning. However, the pads mat down quickly and need replacing with every pair of pointe shoes. As the pads mat down, you will receive less protection. Lambswool pads also allow sweat to wick away from your feet by pushing it through to the pointe shoe box. This in turn breaks down the pointe shoes quicker.
Gel Pads
There are also gel pads. Gel pads have gone through much innovation in the past 10 years. Gel pads are thinner and less bulky so you can “feel the floor” while still offering superb protection for the toes and knuckles. They last almost forever, only needing replacing if lost. (TIP: write names on the inside!) They can get smelly, but you can hand wash them. They also keep the moisture away from the box allowing the pointe shoes to last longer.
Taking Care of Your Shoes
Pointe shoes will technically last 8 hours of dance time. This means that if you put your shoes on first thing in the morning and dance for 8 hours straight, they would be “dead” after 8 continuous hours of dancing. However as a beginner, they should last you about 6-9 months. Pointe shoes are made of glue, satin and canvas. Much like papier-mâché, sweat and moisture break down the pointe shoe at rapid pace. (Did you know our feet have over 250,000 sweat glands?)
There are many ways to prolong the life of your shoes. Air circulation is a pointe shoes’ best friend. A mesh bag is the best home for your pointe shoes and should stay on the outside of your dance bag. Do not leave your toe pads inside the shoes while storing. Also, as an intermediate or above dancer, rotate your shoes. Having several pairs of ready-sewn and working shoes will allow the shoes to dry in between classes, making them last longer. Padding is also a factor. Gel pads don’t allow sweat to seep through to the paste of the shoes, prolonging the life of the box in the shoes. A pointe shoe glue or shellac (which we carry) can aid in prolonging the shoes, but can only be used once per shoe for the integrity of the box will not allow for more than one usage.
Preparation for Your Fitting
- Make an appointment!
- A dancer must have an appointment as a Beginner, Advanced Beginner, or Intermediate Dancer or if it is their first time in!
- Fittings generally take about 45 minutes, so please allow enough time. (Can take longer if this is the first pair!)
- Be sure to have your toenails trimmed. It is wise to trim them a couple days before.
- Bring your previous pairs of Pointe shoes.
- Bring any toe padding or accessories you wear in your shoes. If you’re a beginner, then don’t worry! We have everything you need for your toe padding. You must be fit with the padding you will be using.
As a dancer progresses through pointe work, she will wear several different kinds of shoes. We recommend keeping a journal to help keep track. When dancers have a few years of experience en pointe and are purchasing several different pairs, there is no better time to start the journal. You can often bring it into class (most teachers love this) and write down several things:
- Any corrections the teacher gives you or anyone else that may pertain to you.
- Any combinations you want to remember, work on and enjoy dancing.
- Most importantly, what pointe shoes you were wearing that day and what you liked or disliked. What you performed strongly in and not.
Example 1: I wore my Academies and my petite allegro was amazing, my feet looked so pointed and arched, and the shanks were flexible enough for the pretty jumps.
Example 2: I wore my Balances today and my adagio was incredible. I felt like I could balance for an eternity!
This helps you figure out what kind of piece to do at a performance and how to pick the right shoes.